L’Oreal Paris Casting Crème Gloss Review and Hair Colouring Tutorial
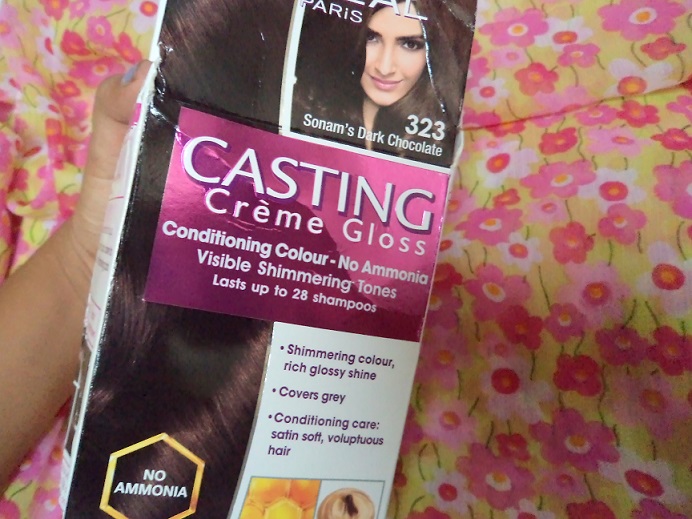
After a quick hair trends 2014 report for brown Indian skin let me tell you I did it! Yep I’m no longer a virgin. I was a lot scared initially but once we got the hang of it actually tuned out quite easy *evil smile*. So yes I’m talking about my brush with hair colouring. I dyed my hair just yesterday at home so I wanted to do this tutorial to show you guys how I did it. I used L’Oreal Paris Casting Crème Gloss in the sh ade 323 Sonam’s Dark Chocolate . This is supposed to be their most popular shade because Sonam Kapoor endorses it and they named it after her. I didn’t want something drastic the first time so I went just a shade lighter.

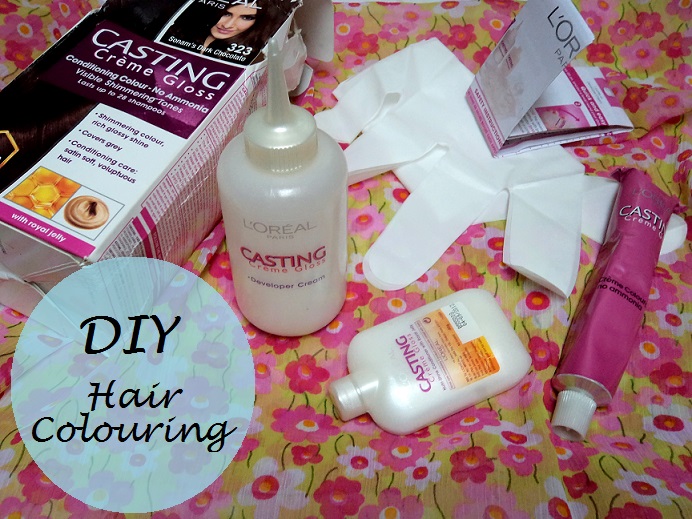
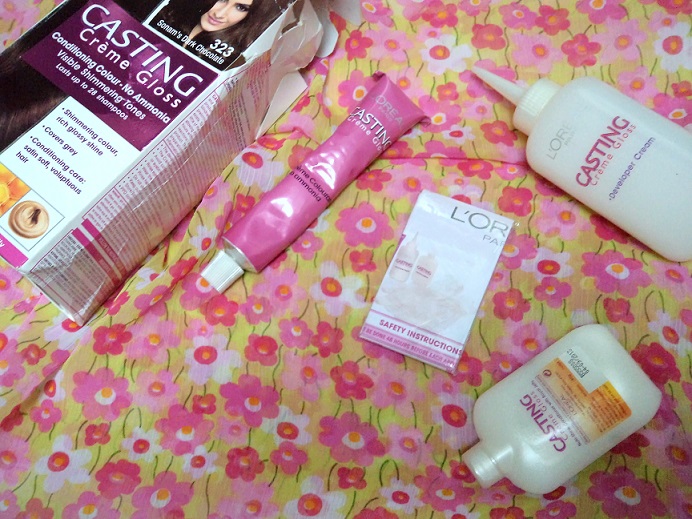
Step 1: Open the box. You will get most of the stuff you need. It comes with Casting Crème Gloss cream colourant, casting crème gloss developer cream, nutrishine conditioner, plastic gloves and an instruction leaflet. (Price: Rs.545)

Step 2: Wet your hair and towel dry them. Now change into a shirt that opens up from the front. And make sure it’s something you don’t normally wear because it might become a pocha afterwards! Go on take out that holi tshirt you wear year after year. And put an old towel around your shoulders.
Step 3: Okay here is one thing you should keep in mind. Before dying your hair at home, use a very creamy and buttery moisturiser along your forehead, ears, neck and hairline. Any heavy duty lotion will do. This is to wipe off any stain that gets on your skin during the hair colouring process.
Step 4: Wear the plastic gloves that come with the pack. Open the colour tube and empty it inside the bottle. Give it a good shake and then break off the seal at the nozzle.
Step 5: Just part your hair in 3-4 sections using some hair clips and work the bottle through one section at a time. Use a brush to reach areas like your temples and hair part.
Step 6: For the rest of the area just spread the colour with your hands. After you are done with the roots, jump to the entire hair length. And then comb your hair to get an even distribution.
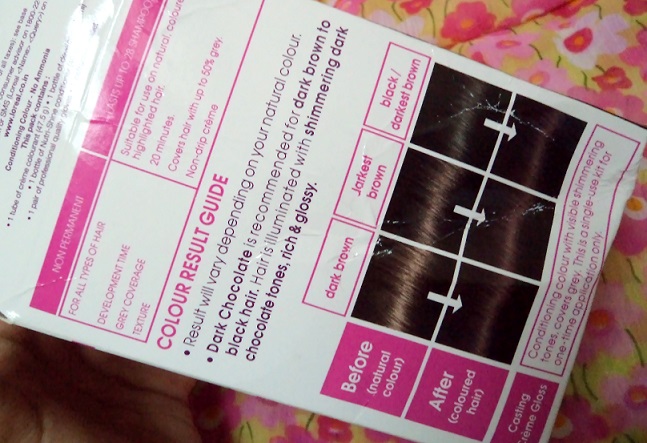
Step 7: The pack says you need to leave the colour on for 20mins or 25mins if you need grey coverage. I kept mine for about 20-30mins. Use lukewarm water to wash the colour off your hair. Don’t shampoo so as to let the hair colour penetrate through the hair shaft. I used the nutrishine conditioner that comes with the pack and kept it on for 4-5mins (its so so good! I wish all regular conditioners came like that). And for the final rinse use some cold water.
Step 8: Towel dry your hair and go to every one in your house to ask if they notice something!

Hair prep before and after colouring your hair:
- Don’t use colour on just washed hair because at this time you hair is dry and you need some natural oil to soak up the colour. I shampooed my hair a day before colouring it.
- You should do a patch test. But okay let’s be real who does it?! I didn’t. But if you are prone to allergies then make sure you do.
- Take some shots before and after colouring your hair so you can later flaunt on instagram #haircolour #dontyoujustlovemynewhair (I forgot it!)
- Use shampoos and conditioners meant for coloured hair to maintain the colour. I’m testing some new stuff so I will let you know in sometime if it works for me.
I totally forgot to take my hair selfies! But I took these pictures just the next day. You don’t see a a big difference indoors but the chocolatey shine is more evident in the sunlight. I will take better pics this weekend to show you in the next post.


